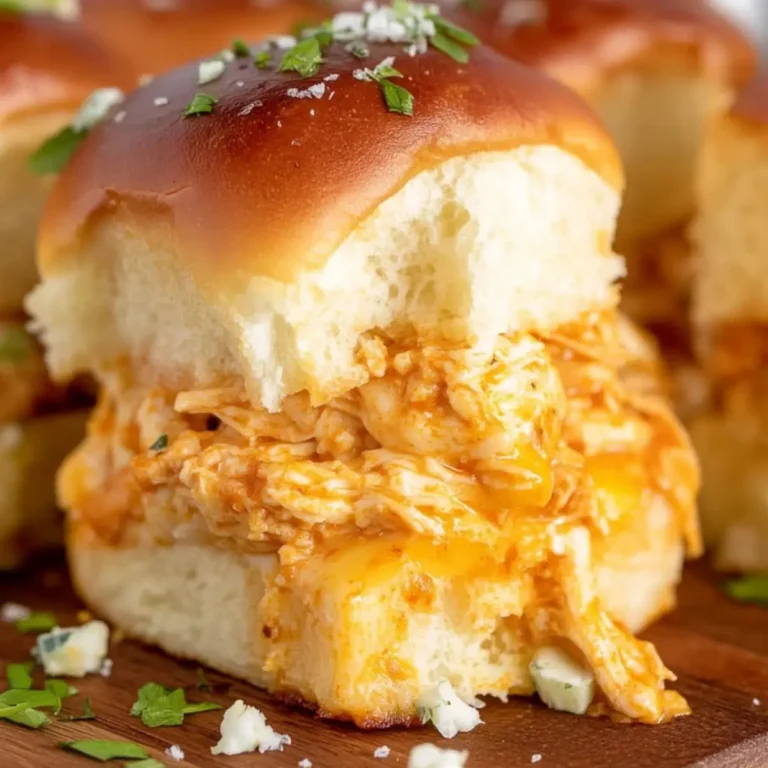
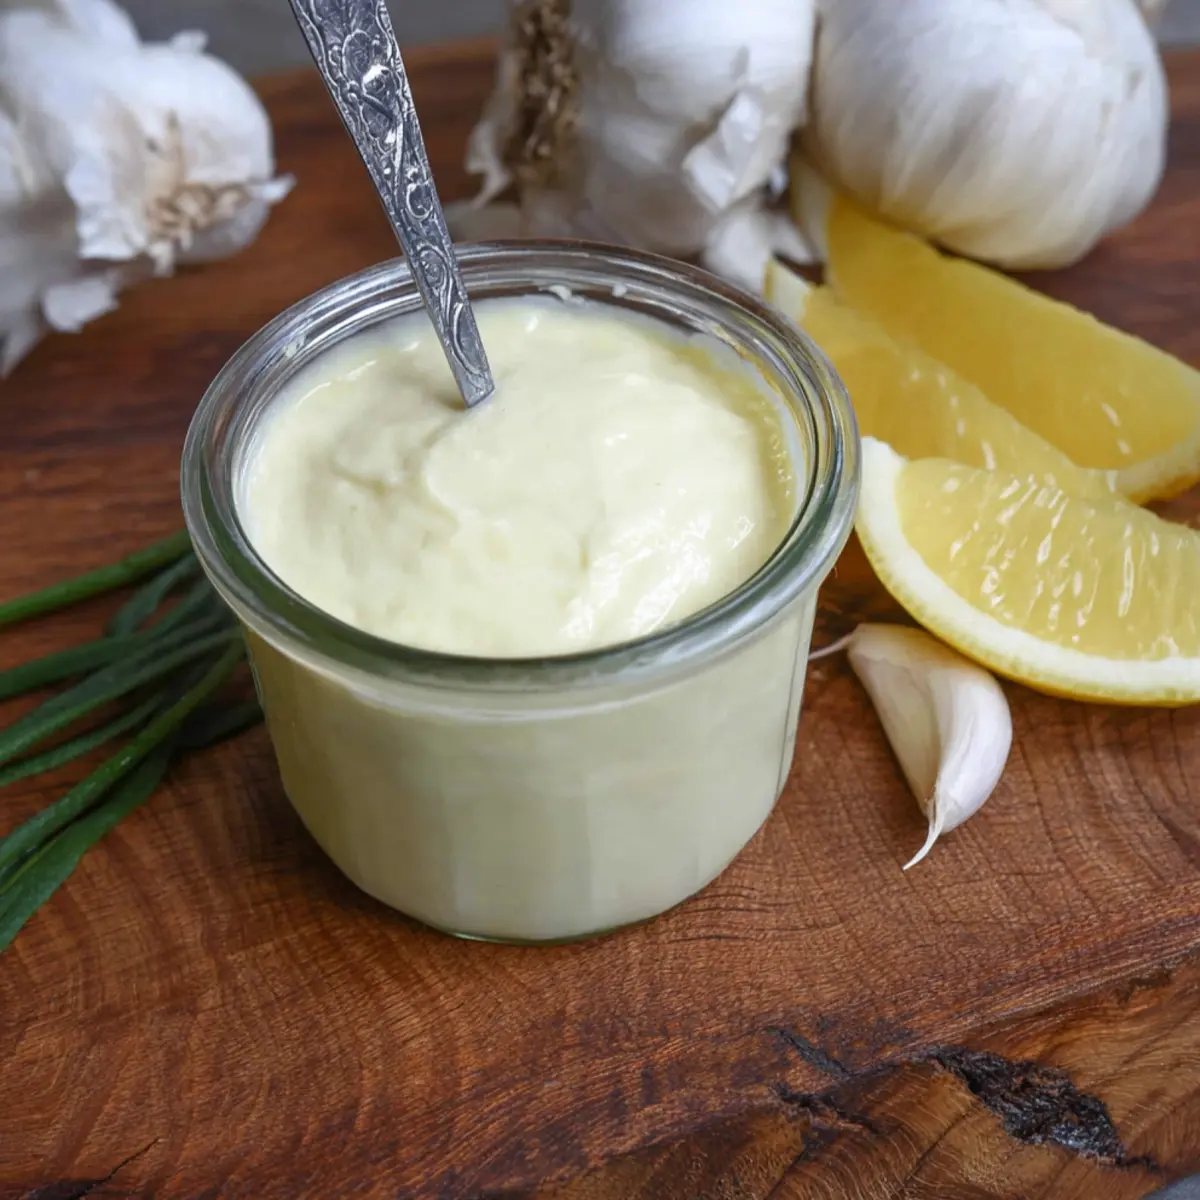
Garlic aioli is that one creamy condiment you’ll want to have on hand for everything from crispy fries to fresh veggie platters. There’s something magical about the tang of lemon, the unmistakable hit of fresh garlic, and rich, luscious mayo all coming together in just a few easy minutes. With no fancy equipment required, this homemade garlic aioli feels like a restaurant treat but is totally doable in your own kitchen.
If you’re after a punchy, addictive dip or spread that can elevate even the simplest meal, this is for you. I love making a batch before friends come over—after an hour in the fridge, the flavors meld into garlic heaven, and suddenly everyone’s asking for the recipe.
My Favorite Tools for Effortless Aioli
You don’t need a fancy kitchen setup to whip up garlic aioli—just a couple of basics will do the trick. Here’s what you’ll want on hand for the smoothest, creamiest results:
- Sharp knife or microplane – for finely mincing or grating the garlic, ensuring all that flavor infuses right into the sauce.
- Juicer or reamer – to get every last drop out of your lemon for that bright, zippy kick.
- Mixing bowl – a medium-sized one gives you room to whisk everything thoroughly.
- Whisk – for blending all the ingredients into a silky, airy emulsion.
- Immersion blender (optional) – if you want an ultra-smooth aioli, this gadget is your secret weapon.
- Air-tight container – essential for storing your finished aioli and keeping it fresh in the fridge.
Garlic Aioli Ingredients (with Simple Twists)
The beauty of this garlic aioli recipe is its simplicity—just five ingredients, all easy to find, each one playing its part in the show. Here’s what you’ll need:
- mayonnaise – brings creaminess and body; use a rich store-bought or homemade version for best results.
- garlic – the star; sharp, aromatic, and essential for that bold, classic flavor.
- olive oil – helps round out the mouthfeel, giving the aioli a supple gloss.
- lemon juice – brightens up the richness, adding tang and freshness.
- salt – ties all the flavors together and balances the punch of garlic and citrus.
See the recipe card below for the full list of ingredients and measurements.
How to Make Garlic Aioli: Step-by-Step
- Mince or grate the garlic until it’s nearly paste-like. You want the tiniest pieces possible—this releases its oils and ensures every spoonful of aioli is packed with flavor. Juice your lemon and set aside; fresh is best for a lively, zesty kick.
- Combine all the ingredients—mayonnaise, garlic, olive oil, lemon juice, and salt—in your mixing bowl. Whisk vigorously until totally smooth, creamy, and flecked with bits of garlic. Craving a super-smooth finish? Use an immersion blender to blend everything until the sauce turns almost glossy and velvety.
- Transfer the aioli to an air-tight container. Pop it in the fridge for at least an hour before serving. This rest allows the flavors to meld, and the sauce thickens up a bit, making it even creamier. Store any leftovers in the fridge for 3–4 days.
Tips, Troubleshooting, and Common Mistakes with Aioli
Making garlic aioli is wonderfully simple, but a few little slip-ups can throw things off. Here’s what to watch for—and how to course-correct:
- Overpowering garlic? If you find your aioli is a bit too intense, start by grating or mincing the garlic as finely as possible. Still too strong? Letting it rest in the fridge mutes some of the initial sharpness, giving a more mellow, rounded flavor.
- Too thick or too thin? If your aioli feels overly dense, add a drizzle of olive oil or a splash more lemon juice, whisking until you reach the perfect creamy texture. Too thin? Try whisking a bit longer—or chill it, as it firms up in the fridge.
- Separation woes? It rarely happens with a mayo base, but if you ever notice separation, a quick whisk or blitz with the immersion blender will smooth things out.
- Bitter notes? Especially with more assertive olive oils, bitterness can creep in. For best results, go for a mild, fruity olive oil.
- Short on time? The aioli is tasty straight from the mixing bowl, but letting it chill for an hour truly transforms the flavor. Trust me—if you can wait, it’s worth it!
Pairing Ideas and Creative Variations for Garlic Aioli
One of the best things about garlic aioli is how versatile it is—there’s no limit to what you can serve it with or how you can play with the basic recipe.
- Pair with: Crispy fries, sweet potato wedges, crudités, grilled veggies, spiced chicken tenders, pan-seared fish, roasted potatoes, fresh sandwiches, or as a burger spread.
- Use as a dip: It’s perfect for party platters with crackers, pita, or toasted baguette rounds.
- Spread on bread: Try it smeared on warm baguette slices alongside a salad, or use it to elevate a simple grilled cheese.
- Variations:
- Add lemon zest or chopped fresh herbs for a fresher, brighter vibe.
- Stir in a pinch of smoked paprika, cayenne, or chili flakes if you like a little heat.
- Try roasted garlic in place of raw for a milder, sweeter garlic note.
- For a vegan-friendly swap, use a vegan mayonnaise base that you love—the rest of the flavors hold up beautifully.
- Make it your own: Use lime juice instead of lemon for a subtler citrus note, or fold in chopped pickles or capers for a briny twist.
FAQs about Garlic Aioli
How long does garlic aioli last in the fridge?
Homemade garlic aioli will keep for 3 to 4 days in the refrigerator if stored in an air-tight container. The flavor usually improves as it sits, so it’s even better on day two. Always check for freshness before serving.
Can I freeze garlic aioli?
It’s not recommended to freeze garlic aioli, as the texture can separate and turn grainy once thawed. If you want to make it ahead, just store it in the fridge and enjoy within a few days.
What if I don’t like strong garlic—can I adjust the garlic aioli flavor?
Absolutely! For a milder garlic aioli, try using one or two cloves instead of three, or opt for roasted garlic. Letting the finished aioli chill in the fridge also softens the pungency over time.
Creamy Homemade Garlic Aioli in Every Bite
There’s something special about the way garlic aioli turns a plain dip into a crave-worthy treat—creamy, rich, and just the right balance of garlicky punch and lemon freshness. Every time I make it, the kitchen smells incredible, and the bowl empties in record time. Once you’ve tasted homemade garlic aioli, you’ll always want a jar stashed in your fridge, ready to add that extra spark to any snack, sandwich, or gathering. Dig in and savor the difference!
More Delicious Recipes
- Bang Bang Salmon Bites: These flavorful bites are perfect for pairing with garlic aioli for an elevated appetizer experience.
- Cheddar Garlic Herb Potato Soup: The creamy texture of this soup complements the rich, garlicky flavors of aioli beautifully.
- Crack Chicken Pinwheels: A delicious snack or meal option that’s enhanced with a side of homemade garlic aioli for dipping.

Homemade Garlic Aioli
Equipment
- mixing bowl
- Whisk
- Air-tight container
- Immersion blender (optional)
Ingredients
Ingredients
- 4 oz mayonnaise 1/2 cup
- 1 oz garlic 3 large cloves
- 2 Tbsp olive oil
- 1 Tbsp lemon juice juice of 1/2 small lemon
- 1/4 tsp salt
Instructions
Instructions
- Mince or grate the garlic. Juice the lemon.
- Mix all the ingredients together in a bowl, whisking well to combine. Alternatively, you can use an immersion blender and place all the ingredients in a bowl – the texture of the garlic aioli sauce will be smoother using this method.
- Place in an air-tight container and keep in the fridge for 3-4 days. I recommend placing the aioli in the refrigerator for about an hour before serving so the flavors can meld together.