You know a cupcake is special when people’s eyes light up even before the first bite. That’s what happens every time I bring out a tray of Green Velvet Cupcakes with Cream Cheese Frosting. There’s something magical about that vivid, springy hue against a billowy swirl of tangy frosting—instantly festive, yet comforting in the most old-school way. These cupcakes have become my go-to for St. Patrick’s Day, but honestly, their soft crumb and rich, subtle cocoa flavor beg to come out for any celebration (or random Tuesday). The aroma that fills the kitchen—a little cocoa, a gentle vanilla warmth, a whiff of lemon and cream cheese—always brings me back to those first test runs, tweaking the green just right and maybe sneaking some edible glitter on top for a wink of fun.
When Green Velvet Cupcakes Steal the Show
There’s something almost cinematic about unveiling a plate of Green Velvet Cupcakes at a gathering. People lean in for a closer look; they want to know how you got that color so deep, so perfectly “St. Patrick’s” and yet so inviting. I’ve baked these for kids’ parties and for adults-only cocktail nights—no age group is immune to the charm. If you’re looking to inject a pop of color and a little theater into your dessert table, these cupcakes don’t just deliver, they basically do a triumphant march right to the center of everyone’s attention. Whether you’re marking a big occasion or simply feeding that urge for something whimsical, this recipe never fails to hit the mark.
The Ingredients That Give These Cupcakes Their Vibrant Character
Nothing about these Green Velvet Cupcakes is an accident—the ingredients are picked for their ability to build rich flavor, moist texture, and that iconic green hue. Here’s how each one works its magic:
- flour – gives structure and softness; the right flour keeps the crumb delicate, not dense.
- Granulated sugar – sweetens the cupcakes and helps them stay moist. If you’re desperate, superfine sugar works too, but the regular type melts just right here.
- Unsweetened cocoa powder – only a hint, but don’t skip it; that touch of cocoa deepens the color and adds that signature velvet undertone.
- Baking soda – for lift and that plush cupcake rise.
- Salt – a pinch to balance the sweet and sharpen all the other flavors.
- Buttermilk (or milk with lemon juice) – this is a secret for tenderness; if you don’t have buttermilk, curdle some milk with lemon juice and you’re golden.
- Vegetable oil – makes for a moister crumb than butter alone, and keeps the cakes soft even after a day or two.
- Eggs – bring everything together for that perfect set (room temperature eggs work best for a smoother batter).
- White vinegar – reacts with the baking soda for extra fluff, and it actually brightens the green color!
- Vanilla extract – makes the cakes aromatic; don’t be tempted to skip it.
- Green gel food coloring – the real star for color; use gel instead of liquid for a deeper shade that won’t wash out the batter.
- Matcha powder (optional) – for a little grassy-green nuance, but it’s totally okay to leave it out if you’re not a matcha devotee.
- Cream cheese – creates that tangy, silky frosting you want to sink your teeth into.
- Unsalted butter – helps whip the frosting up fluffy and rich, so every bite has perfect balance.
- Powdered sugar – magical stuff for thickening frosting and making it cloud-light.
- Lemon juice – for a bright, tart pop in the frosting that keeps everything lively and far from cloying.
See the recipe card below for the full list of ingredients and measurements.
Blending and Baking: How These Green Velvets Come to Life
The real beauty of these cupcakes is how they come together in just a few bowls and a short burst of baking time—no sous-chef required, only a playful spirit and maybe a sturdy spatula. Here’s how I like to roll:
- First, get your oven good and hot. That first waft of warmth will set the celebration mood. Line a muffin tray with paper liners or swipe in a bit of oil if you’re going liner-free.
- Sift the dry ingredients together: a mountain of flour, the cocoa powder that whispers chocolate in the background, a puff of baking soda, and a bit of salt. Give it a whisk so it blends into a fine, even mix.
- In a larger bowl, start whisking up all the wet goods—sugar, oil, those friendly eggs, buttermilk (or your quick fix milk-lemon blend), vanilla, vinegar, and a healthy squirt of green gel food coloring. If your heart says “Yes!” to matcha, whisk it in now for grassy undertones.
- Sprinkle the dry blend gradually into your wet mixture. Fold gently, just until the last streak of flour disappears. This is where the transformation happens: the batter turns a head-turning green, smooth and shiny. Don’t overmix—think gentle caress, not anxious workout.
- Scoop the batter evenly into your prepared cupcake cups. They should be about two-thirds full—enough to let them rise into puffy domes, not spill over the edges.
- Slide the tray into the oven and let them bake away. You’ll know they’re done when a toothpick comes out with only a crumb or two clinging on—a soft hint of their gooey-perfect interior.
- Cool in the tray a short while, then transfer to a rack. Wait until fully cool to frost, unless you love your frosting in puddles (I’ve been there, no judgment).
Frosting Touches and That Moment of Assembly
Frosting these cupcakes is half the fun—and if you’ve got restless hands nearby (kids, tipsy friends, anybody game for swirling), grab them and dive in. The cream cheese needs to be truly soft, as does the butter, so they’ll whip up creamy and cloud-light without lumps. A mixer helps, but elbow grease and a whisk work in a pinch.
Add your powdered sugar bit by bit, so you aren’t showered in sweet dust. Lemon juice right at the finish gives an extra zing you didn’t know you needed. Once your frosting is plush and airy, pipe it or swirl it on with a spatula—generous mounds, please, no skimping. If you’re feeling cheeky, sprinkle some green sugar or edible glitter—it’s a party, after all.
Texture, Flavor, and the Soul of Every Bite
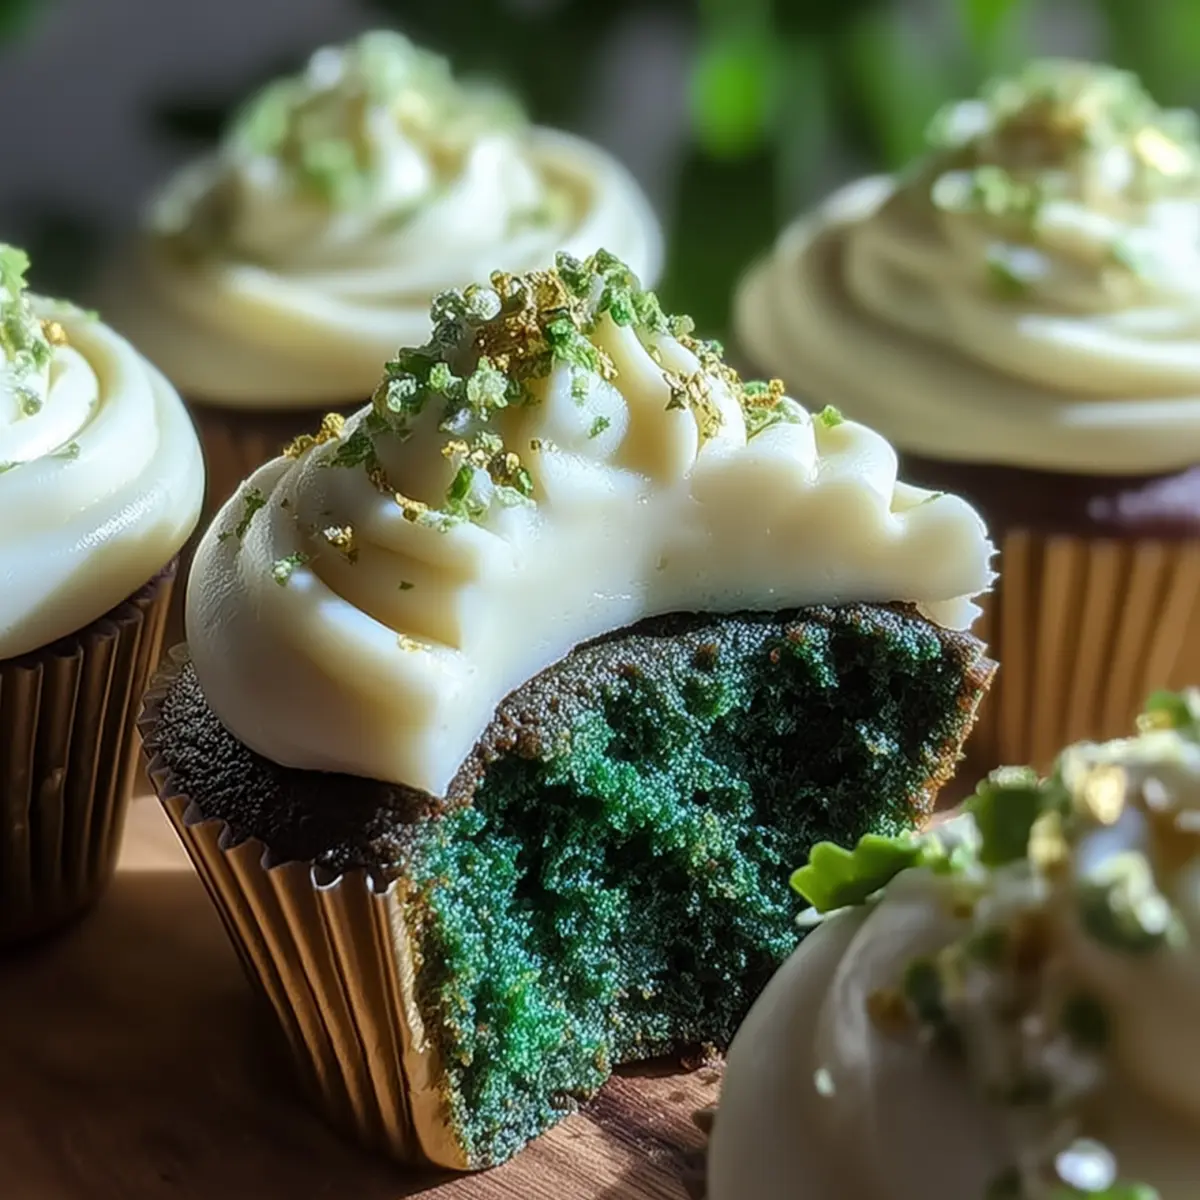
What do you get with that first forkful? A marvel of contrasts. The Green Velvet Cupcakes are soft as a whisper—startlingly moist, with just enough cocoa to make them taste grown-up, never cloying. There’s a faint tang from the buttermilk and vinegar, almost impossible to spot unless you know to look for it. The color alone hints at spring, but the taste can carry you through winter and beyond. On top, a snowy crown of cream cheese frosting delivers creamy luxury. The lemon pushes through, a bright counterpoint that wakes up your taste buds and keeps the frosting from sliding into overly sweet territory. You can taste the difference when you use good vanilla and real cream cheese; each bite is bright, lush, and seriously hard to put down.
Little Secrets for Perfect Green Velvet Cupcakes
Let’s get you baking like you’ve done this dozens of times (even if it’s your first go):
- Room temp ingredients are your friend—cold eggs or butter will dull your batter and throttle your rise.
- Use gel food coloring if you want that true emerald pop. Liquid coloring just can’t keep up and you’ll end up with muted, washed-out cakes.
- Handle the batter gently after you add the dry ingredients. Overmixing tightens up the crumb and steals that light, velvety feel.
- If you’re short on buttermilk, simply mix milk with a splash of lemon juice and let it stand for five minutes. It curdles just enough to mimic the real thing.
- Make the cupcakes a day ahead, but always frost same-day for ultimate freshness—the frosting holds up best without being exposed overnight.
- Not a matcha person? Leave it out. Want a gentler green? Half the food coloring works for a more pastel look.
- For storage, keep cupcakes in a covered container in the fridge. Let them come back to room temp before serving for the best texture, or pop them in the microwave for a few seconds for ultra-softness.
- For a playful twist, try orange zest in the frosting for an even zestier hit.
Serving Green Velvet Cupcakes for Maximum Effect
Presentation makes these cupcakes go from sweet to truly spectacular. Arrange them on a cake stand, maybe with a dusting of edible gold or green sugar crystals, and you’ll have centerpiece-worthy treats without much fuss. They’re perfect for St. Patrick’s Day, of course—marching alongside Irish coffee or creamy hot cocoa—but don’t underestimate their power at garden parties, bridal showers, or “just-because” moments. Pair with strong black tea if you want the frosting to pop, or a light sparkling wine for grown-up gatherings. If you’re serving kids, tuck shamrock flags on top for extra giggles. I’ve even handed them out as party favors, boxed up with a little note—turns out, green velvet is everybody’s new favorite.
FAQs about Green Velvet Cupcakes with Cream Cheese Frosting
Can I make Green Velvet Cupcakes with Cream Cheese Frosting in advance?
Yes, you can certainly bake the cupcakes the day before and store them, unfrosted, in an airtight container. Wait until the day you want to serve them to frost—fresh frosting keeps the texture cloud-like and the flavor sharp. If you need to prep even further ahead, see below about freezing.
What’s the best substitute for buttermilk in these cupcakes?
If you don’t have buttermilk on hand, just stir a splash of lemon juice into plain milk, and let it stand about five minutes until it thickens a bit. This homemade “buttermilk” gives the same necessary tang and keeps your crumb just as tender.
How should I store leftover Green Velvet Cupcakes with Cream Cheese Frosting?
Once frosted, keep the cupcakes in a covered container in the refrigerator. They’ll stay fresh for up to three days. Let them warm to room temperature for about 30 minutes before eating so the cake and frosting are soft and luscious.
Can you freeze these cupcakes, either with or without frosting?
They freeze beautifully before frosting—just wrap cooled cupcakes tightly and tuck them in a freezer-safe bag. Thaw on the counter before adding the cream cheese frosting. You can also freeze the frosted cupcakes, though the texture of the frosting may change slightly; still delicious, but best within a month.
There’s just something mood-lifting about Green Velvet Cupcakes with Cream Cheese Frosting—bright, tangy, and totally irresistible every time. Once you feel that spongy crumb with its hint of cocoa and swipe through a puff of lemony frosting, you’ll get it. These cupcakes invite you to play a little, eat with your eyes first, and always leave room for a second. Whether they anchor your St. Patrick’s Day or turn an ordinary weeknight into a celebration, go ahead—let your kitchen fill up with that irresistible scent and welcome a bit of color into your day.
More Tasty Ideas
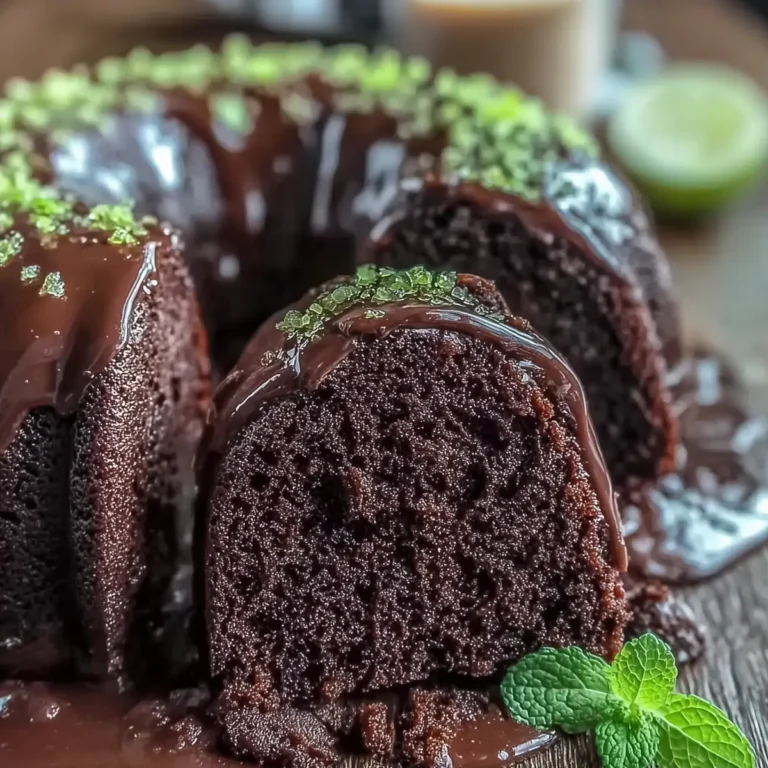
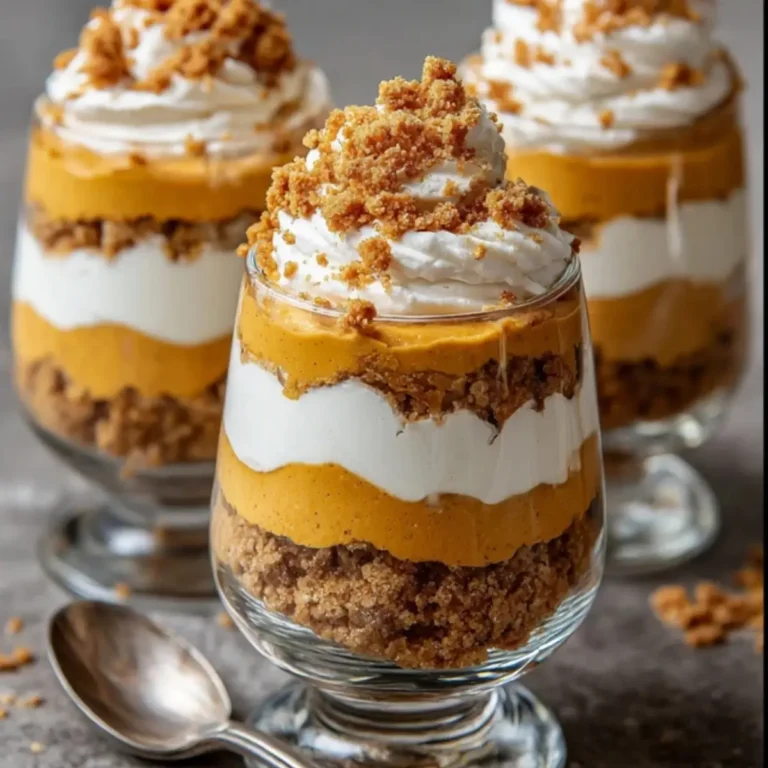
- St. Patrick’s Day Brownie Trifle: This festive dessert layers rich chocolate brownies with cream, creating a delightful treat perfect for celebrations.
- Irish Scones: These scones are quick to make and pair beautifully with your cupcakes, adding a traditional Irish touch to your dessert spread.
- St. Patrick’s Day Truffles: These bite-sized truffles are a fun and colorful addition to any St. Patrick’s Day celebration, complementing the festive theme of green velvety treats.

Green Velvet Cupcakes Recipe Easy St Patricks Day Cupcakes with Cream Cheese Frosting
Equipment
- muffin tin
Ingredients
Ingredients
- 1 ½ cups all-purpose flour
- 1 cup granulated sugar
- 2 tablespoons unsweetened cocoa powder
- 1 teaspoon baking soda
- ¼ teaspoon salt
- ½ cup buttermilk (or ½ cup milk + 1 tbsp lemon juice, let sit 5 minutes)
- ⅓ cup vegetable oil
- 2 large eggs, room temperature
- 1 teaspoon white vinegar
- 1 teaspoon vanilla extract
- 1 teaspoon green gel food coloring
- ½ teaspoon matcha powder (optional)
- 8 oz cream cheese, softened
- ½ cup unsalted butter, softened
- 3 cups powdered sugar
- 1 tablespoon lemon juice
Instructions
Instructions
- Preheat your oven to 350°F (175°C). Line a 12-cup muffin tin with cupcake liners or lightly grease it.
- In a medium bowl, sift together the flour, cocoa powder, baking soda, and salt. Whisk until combined.
- In a large bowl, whisk together the sugar, vegetable oil, eggs, buttermilk, vanilla extract, white vinegar, green gel food coloring, and optional matcha powder until smooth and vibrant.
- Slowly add the dry ingredients to the wet mixture, folding gently with a spatula until just combined. Do not overmix.
- Divide the batter evenly among the 12 cupcake liners, filling about ⅔ full.
- Bake for 20 to 22 minutes, or until a toothpick inserted in the center comes out with a few moist crumbs.
- Remove cupcakes from the oven and let them cool in the pan for 5 minutes. Then transfer to a wire rack to cool completely before frosting.
- To make the frosting, beat the softened cream cheese and unsalted butter together until smooth and fluffy.
- Gradually add the powdered sugar, mixing on low speed to avoid a sugar cloud.
- Add lemon juice and beat until light and spreadable.
- Frost each cupcake generously using a piping bag or spatula. Optionally, decorate with green sugar crystals or edible gold glitter.