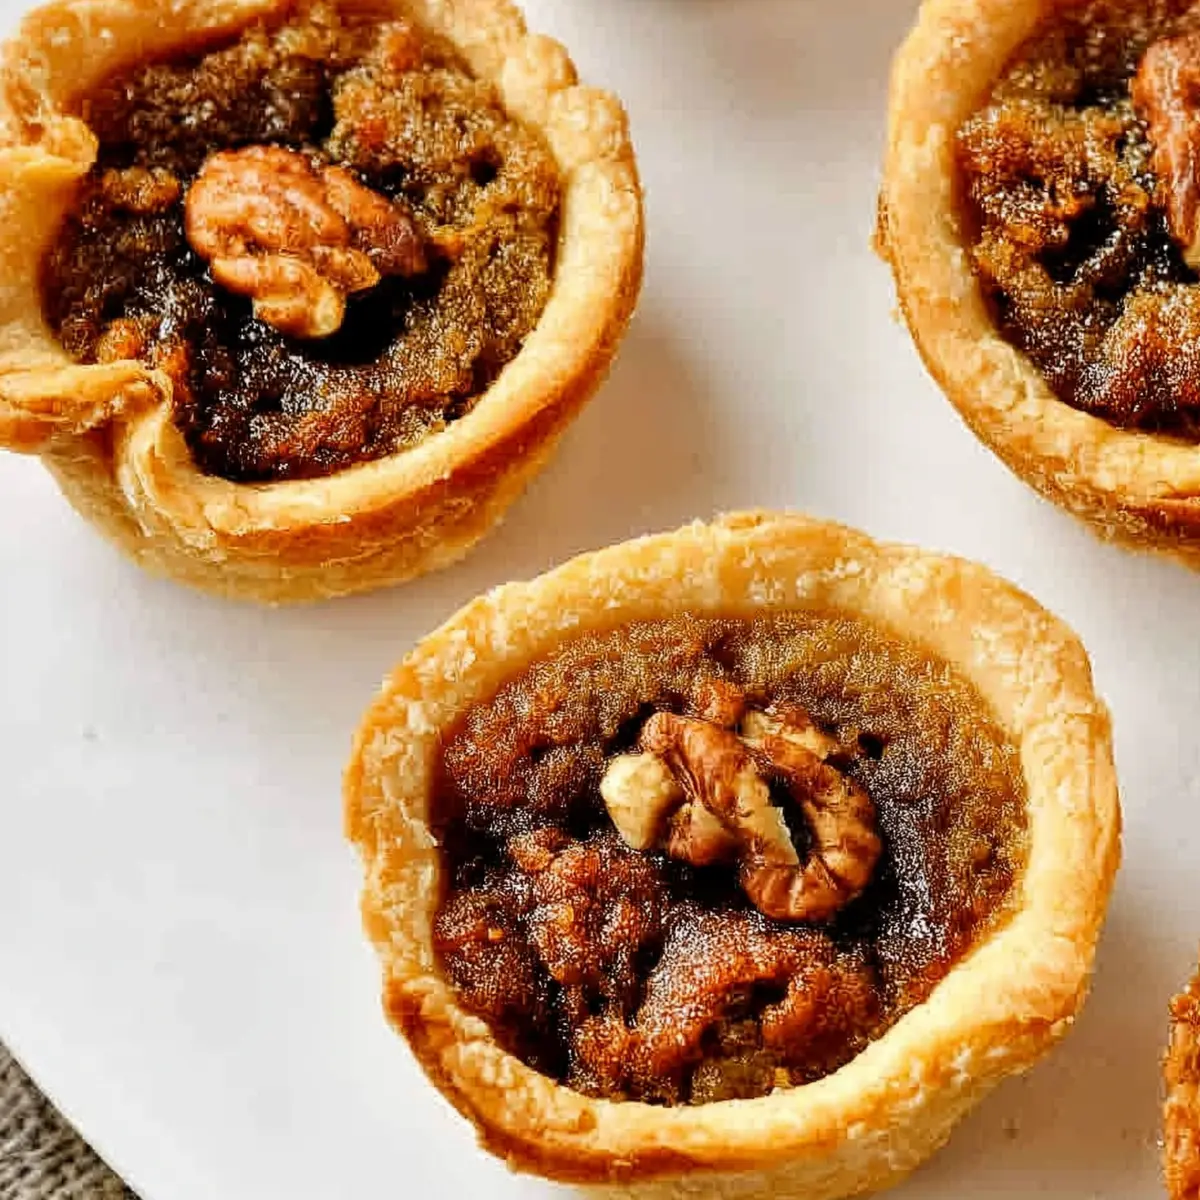
If you catch a whiff of something buttery and sweet drifting out of a kitchen window and catch a hint of warm pastry and caramelizing sugar, I’ll bet someone’s pulling a tray of Nana’s Butter Tarts out of the oven. These are the tarts that mean it’s a holiday, a family reunion, or just a day where you want your house to smell absolutely irresistible. The filling is oozy, the top gently crackling, and the crust so flaky it shatters if you breathe wrong—but in all the best ways.
One bite and suddenly you’re ten years old, sticky-fingered, sneaking a second tart before official dessert time. Whether you grew up with this classic Canadian treat at family gatherings or you’ve only heard the myths, Nana’s Butter Tarts are the kind of recipe you’ll want to make yours—and pass down, too.
Why These Butter Tarts Always Steal the Show
A good butter tart feels like a secret you can’t quite keep. The simple magic here is nostalgia that never disappoints: every bite is buttery, barely set, and impossibly comforting. Nana’s Butter Tarts have that old-school Canadian filling—the kind that’s sweet but not cloying, eggs and brown sugar melting together, bouncy with plump raisins and the crunch of nuts if you want them. The base is a homemade pastry, golden and tender, holding all that gooey goodness together.
Whether you make them for the holidays, bring a tray to a friend’s, or need something timeless for a potluck, these butter tarts are always the first thing to disappear. They’re a little rustic, a little messy, always a crowd-pleaser, and honestly, they just taste like home.
What You Need for Nana’s Butter Tarts
Let’s break down what makes these tarts so special, one ingredient at a time:
- flour – brings the structure and tenderness to the pastry shell. Use unbleached for that classic bite.
- Salt – enhances all the sweet and buttery notes lurking in every crumb.
- Butter (chilled and softened) – cold butter in the pastry gives you those dreamy, flaky layers, while a bit of softened butter melts right into the filling for rich flavor.
- Vinegar – just a splash in the dough helps the pastry stay extra flaky and prevents gluten from overtaking things.
- Milk – brings it all together for a supple dough you can roll thin.
- Organic sultana raisins – they plump up so beautifully and give the filling pops of sweet juiciness. Regular raisins work too if that’s what you have.
- Brown sugar – classic and caramel-like, but you can swap some for maple syrup if you’re craving a deeper maple note.
- Maple syrup (optional) – pure Canadian magic for sweetness and that unmistakable earthy maple background.
- Eggs – they set the filling just enough, so you get that lava-textured center without anything running out.
- Organic vanilla – a background note that ties everything together.
- Pecans or walnuts (optional) – if you like a bit of crunch, these are perfection, but you can totally leave them out for a classic raisin-only tart.
See the recipe card below for the full list of ingredients and measurements.
How to Make Nana’s Butter Tarts Step by Step
Here’s how you get those perfect Nana’s Butter Tarts in your own kitchen—no fuss, just classic, cozy results:
- Start with the pastry: Toss your flour and salt into a food processor and pulse a couple of times to mix. Cold butter goes in next, cubed up, and pulse again until the mixture resembles coarse crumbs that hold together if you pinch them.
- Mix your vinegar into the milk, then pour that right into your flour mixture. Keep pulsing until the dough just comes together—don’t overdo it or you’ll lose that perfect flakiness.
- Turn the dough out, divide in half, and gently flatten each half into a disc. Wrap them up (waxed paper or plastic wrap both work), and chill in the fridge. Letting the butter get cold again is your friend here.
- Roll out the pastry on a lightly floured surface. You’re aiming for thin, even rounds that will hug your tart tins. Press the pastry gently into each cup and smooth away any wrinkles; poke a few holes in the bottoms with a fork to prevent puffing.
- Time for the filling magic: Rinse your raisins in hot water a couple times to plump and soften them, then squeeze out any extra water—this keeps things gooey, not soggy.
- In a mixing bowl, stir together brown sugar, maple syrup (if using), and a spoonful of softened butter. Add those juicy raisins and give it all a good mix.
- Crack in the eggs and add vanilla; whisk until everything is glossy and cohesive. If you’re adding nuts, fold them in gently now.
- Spoon the filling into the waiting pastry shells—don’t overfill, or you’ll have a sticky situation.
- Bake until the pastry is beautifully golden and the filling is just set, with a hint of jiggle. The tops will puff, darken, and maybe even get a little crackly—exactly what you want.
- Let the tarts cool in the tin for a few minutes, then ease them onto a wire rack to finish cooling. The filling will settle into that irresistible fudgy texture as it sits.
Secrets and Tips for the Best Butter Tarts
If you want your butter tarts to be legendary and not just good, these little moves go a long way. First, keep everything cold when making the pastry. A quick chill after rolling and pressing into tins helps create that magical flake—so don’t skip it, even if you’re in a hurry. Handle the dough as little as possible to avoid tough results, and don’t be afraid if things look a little rough around the edges; rustic is part of their charm.
When working with the filling, rinse and squeeze those raisins really well, or you risk a soggy bottom (classic pastry fear). Pour the filling in gently—too much and it boils over, leaving you with tarts glued to the tin. Keep an eye on them as they bake; they should be set with just a tiny wobble in the middle, like a good custard. Let them cool until they’re easy to pop out without breaking, and if you have leftovers, store them in an airtight container at room temperature for a couple days—they get even better as the flavors meld.
Fun Variations and Serving Ideas for Nana’s Butter Tarts
Nana’s Butter Tarts are a tradition, but traditions are always a little better with some personal flair. You can swap the sultana raisins for currants or dried cranberries for a tangier twist. No one will complain if you add a generous splash of maple syrup or even a pinch of cinnamon to the filling. If you’re anti-raisin (it’s a thing!), just leave them out and double up on toasted nuts for a deluxe crunch.
Try serving these tarts slightly warm with a scoop of vanilla ice cream melting over top, or keep things classic and offer them on a big tray with a pot of strong black tea. For the holidays, add orange zest to the filling for a cozy, wintry vibe. They’re sturdy enough to pack for a picnic, and they freeze surprisingly well—just make sure they’re wrapped tightly.
If you want to win at brunch, try crumbling leftover butter tarts over Greek yogurt. (Don’t judge, it’s incredible.) Or, go all out and drizzle with even more maple syrup before serving. However you riff, the soul of Nana’s Butter Tarts is never lost.
FAQs about Nana’s Butter Tarts
Can Nana’s Butter Tarts be made ahead?
Absolutely! These butter tarts keep really well. You can make them a day or two before you plan to serve them—just store in an airtight container at room temperature. The flavor gets even richer after a day.
Can I freeze Nana’s Butter Tarts?
Yes, you can freeze butter tarts successfully. Once they’re baked and cooled, pop them into a freezer-safe container, layering with parchment paper to prevent sticking. Thaw at room temperature or gently reheat in a low oven if you want them warm.
Can I leave out the raisins or nuts in Nana’s Butter Tarts?
Definitely. If you’re not a raisin fan (or serving picky eaters), just omit them and you’ll have that classic sugary-sweet, gooey filling. Nuts are totally optional too, so customize how you like.
How do I get the best pastry for these tarts?
For the flakiest, most tender shells, use very cold butter and milk, and don’t overwork the dough. Chilling both before rolling and after shaping into tart tins really helps. Handle it as little as possible for bakery-quality results.
There’s something deeply cozy about biting into Nana’s Butter Tarts, the kind of treat that’s both humble and extraordinary at once. Whether you’re reliving childhood memories or starting a new kitchen tradition, their flaky crust and luscious, gooey center never disappoint. They beg to be shared with friends over coffee or hoarded for a private moment of sugar-laced bliss. Dust your counter with flour, trust your instincts, and let the scent of baking butter tarts fill your kitchen—these are the bakes that feel like home.
More Relevant Recipes
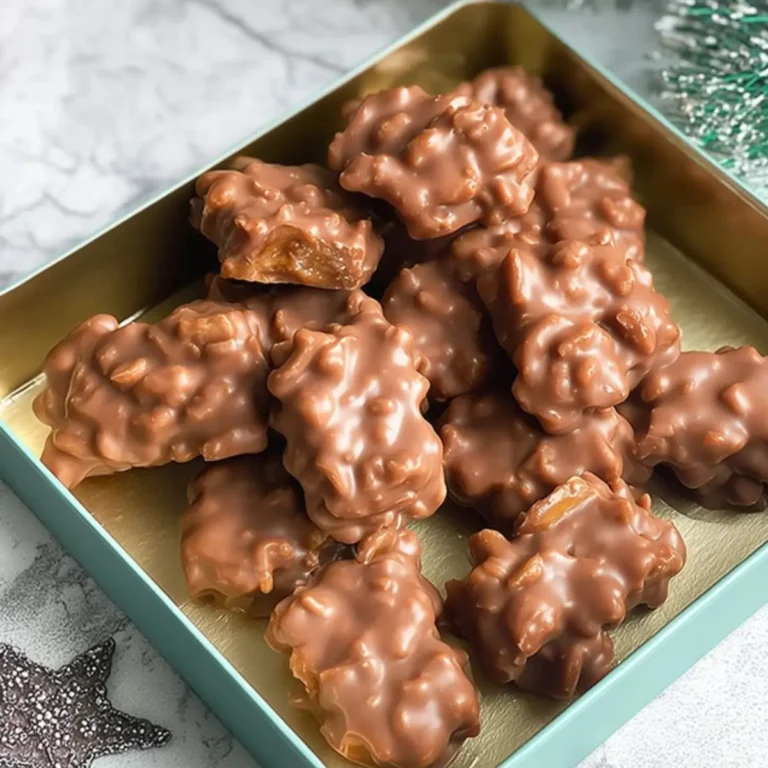
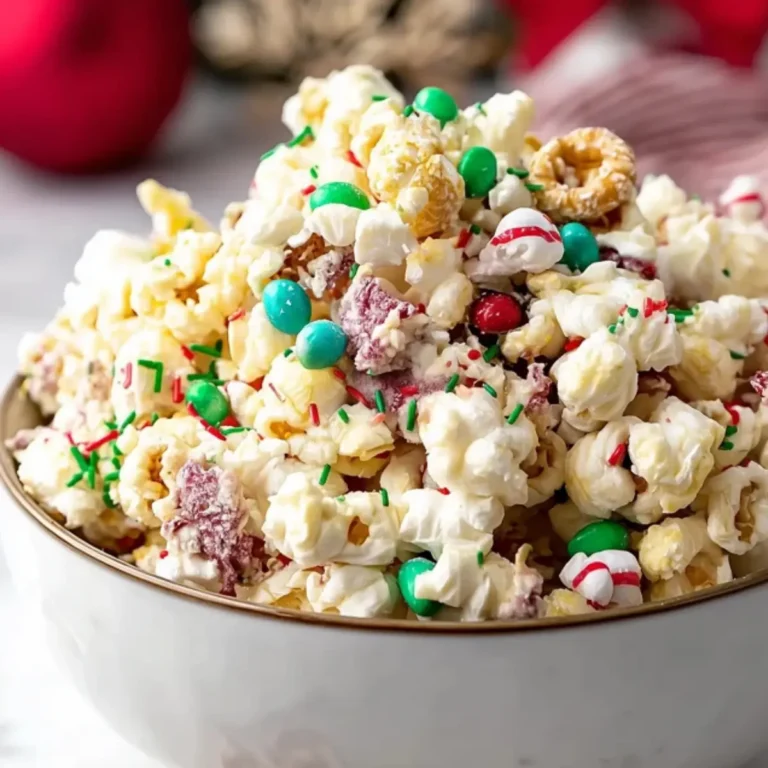
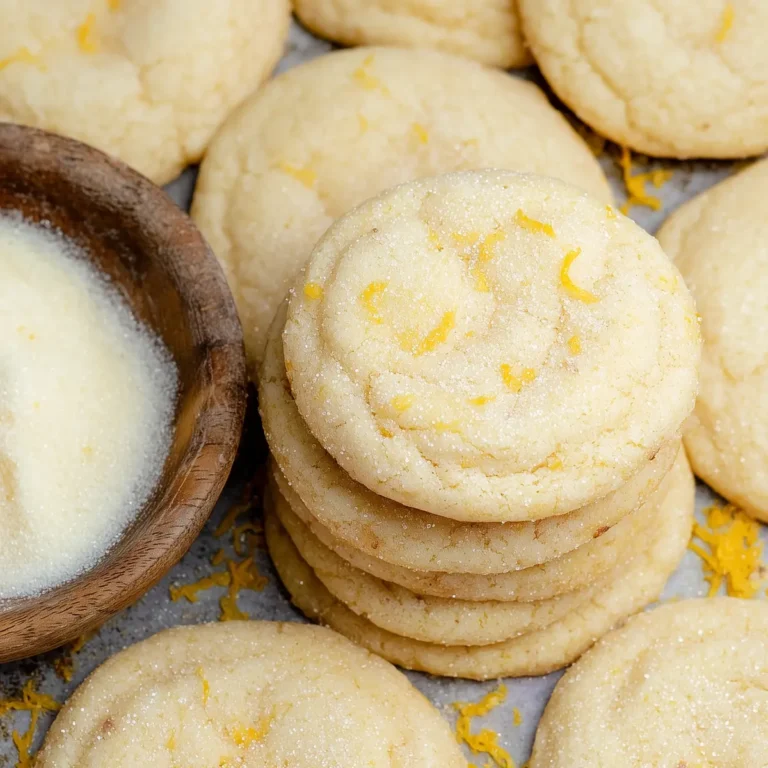
- Dutch Apple Crumble Pie: This pie features a sweet and comforting filling, perfect for sharing at family gatherings.
- Bourbon Pecan Pie: A rich and gooey pie that echoes the flavors of Nana’s buttery fillings, with a delightful crunch from the pecans.
- Irish Scones: These soft and flaky scones make a cozy treat that pairs wonderfully with tea, just like butter tarts do.

Nana's Butter Tarts
Equipment
- food processor
Ingredients
Ingredients
- 2 cups unbleached flour
- 1 tsp salt
- 1 cup butter, (chilled)
- 1 tbsp vinegar
- 1/3 cup milk
- 1 cup organic sultana raisins
- 1 cup brown sugar, (OR 3/4 cup brown sugar and 1/4 cup maple syrup)
- 1 tbsp butter (softened)
- 1/2 tsp organic vanilla
- 1/2 cup finely chopped pecans or walnuts (optional)
Instructions
Instructions
- Put flour and salt in food processor and pulse.
- Cube butter, then add to flour in processor bowl and pulse until it resembles coarse meal.
- Add vinegar to milk. Add all at once to flour mixture. Pulse until it just forms a ball.
- Remove and divide into two balls. Place on waxed paper or plastic wrap, flatten gently into a disc, top with another layer of wrap, fold over and refrigerate if not using right away.
- Roll out and cut to fit your tart tins. Press gently into tins, smoothing out any creases. Prick several times with the tines of a fork.
- Rinse the raisins with hot water a couple of times. After draining the last time, squeeze them with your hands to remove excess water.
- Measure the brown sugar, maple syrup and butter into a medium bowl. Add the raisins and stir.
- Add the eggs and vanilla and stir thoroughly to combine. Stir in the chopped pecans or walnuts, if using.
- Carefully spoon into 24 three-inch pastry-lined tart shells, filling 2/3 full.
- Bake in 350°F. degree oven for 22 – 24 minutes or until pastry is golden brown. Remove and let cool on a wire rack.